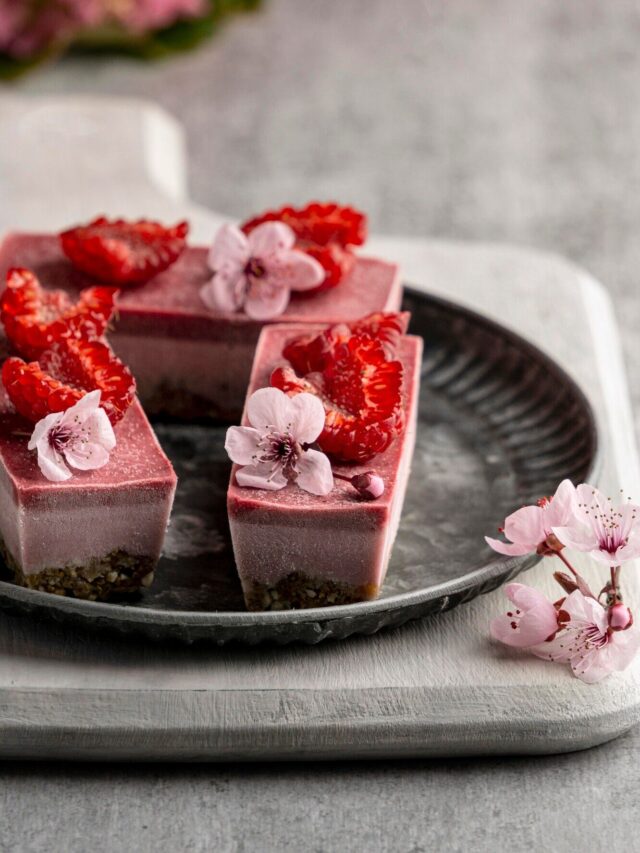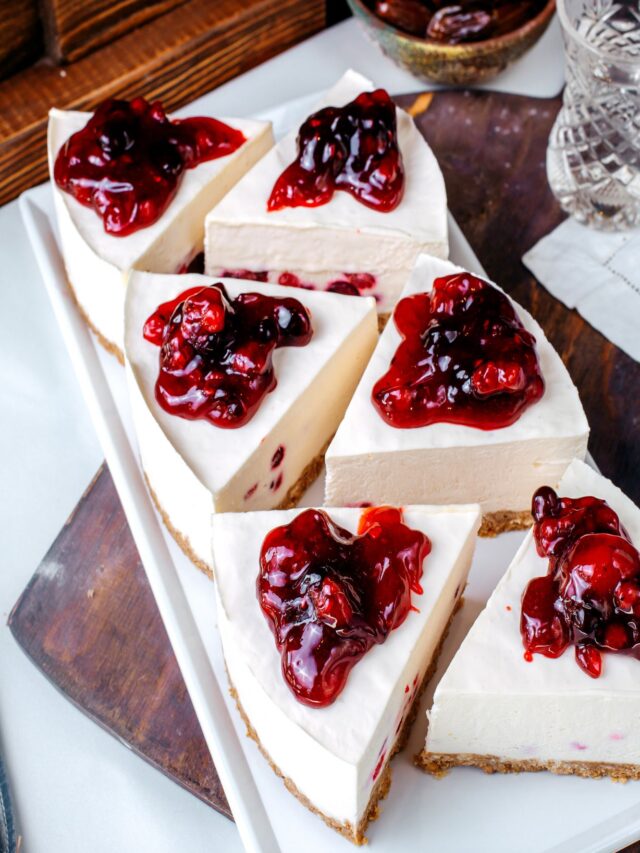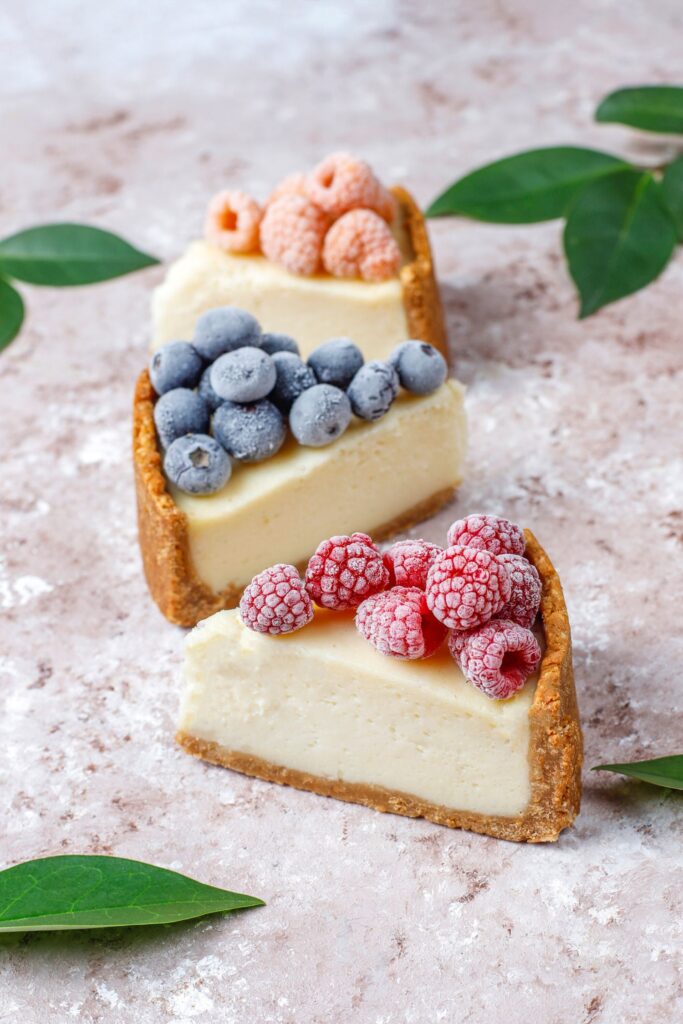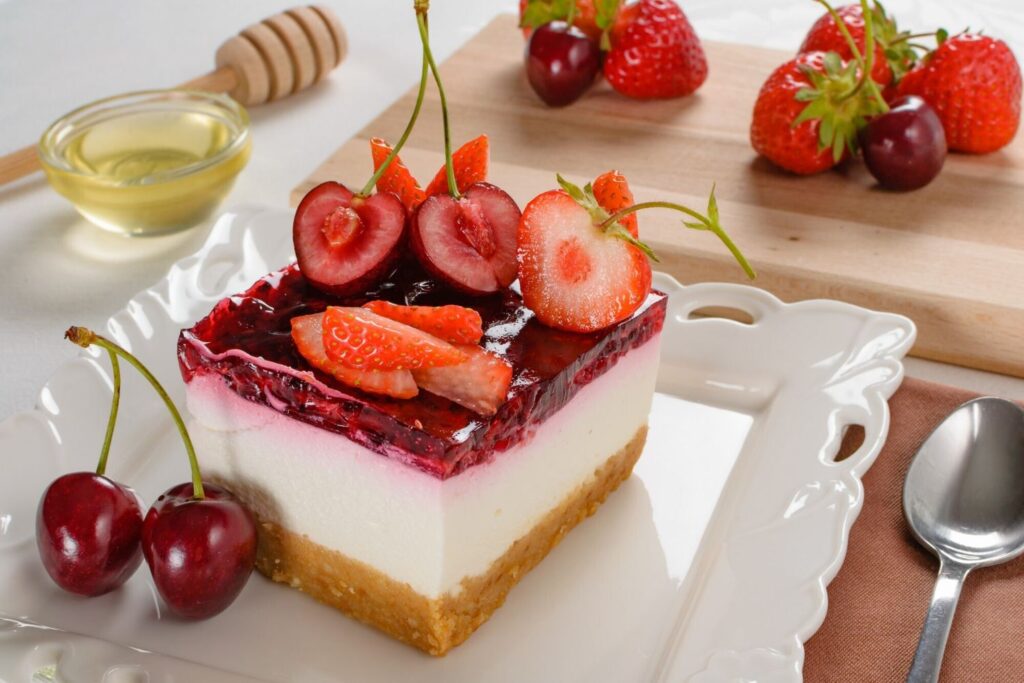
Cherry Cheesecake is a timeless dessert that combines the velvety goodness of cream cheese and the bright, sweet, and tangy burst of cherries. It’s a dessert that fulfills every wish: a buttery crust, a smooth and delicious cheesecake filling, and the glorious glory of a cherry topping. Whether served on special occasions, family gatherings, or simply as a midweek treat, cherry cheesecake never fails to impress. This guide will explore how to make the perfect cherry cheesecake, from preparing the crust to mastering the filling and topping it with delicious cherries. By the end, you’ll have a visually stunning and irresistible dessert.
Table of Contents
Ingredients for the Perfect Cherry Cheesecake:
Before diving into the recipe, it’s important to gather high-quality ingredients. A cheesecake is only as good as its ingredients, so using the freshest and best ingredients will enhance both the flavor and texture.
For the crust:
- 1 ½ cups graham cracker crumbs
- ¼ cup granulated sugar
- ½ cup unsalted butter, melted
For the cheesecake filling:
- 3 packages (8 ounces each) of cream cheese, soft
- 1 cup granulated sugar
- 1 teaspoon vanilla extract
- 3 large eggs
- ½ cup sour cream (for extra creaminess)
For the cherry topping:
- 1 can (21 oz) cherry pie filling or homemade cherry compote
- Optional: fresh cherries for garnish
Step 1: Preparation of the crust
The crust forms the base of your cheesecake, providing a delightful contrast to the creamy filling. A graham cracker crust is the traditional choice for cheesecake, adding a subtle sweetness and crunchy texture.
- Crush the graham crackers: Start by crushing the graham crackers into fine pieces. You can use a food processor to speed up the process, or place the crackers in a sealed plastic bag and crush them with a rolling pin.
- Mix with sugar and butter: In a medium bowl, combine graham cracker crumbs, ¼ cup granulated sugar, and melted butter. Stir until the mixture resembles wet sand and the pieces are evenly coated with butter.
- Press into the pan: Lightly grease a 9-inch springform pan, then press firmly into the graham cracker mixture. Use the back of a spoon or the bottom of a measuring cup to smooth it out, making sure the crust is smooth and compact. Place the pan in the refrigerator while you prepare the filling to allow the crust to set.
Step 2: Making the Creamy Cheesecake Filling
The cheesecake filling is the heart of the dessert. It should be smooth, creamy, and rich, without being too thick.
- Beat the cream cheese: In a large mixing bowl, beat the softened cream cheese with an electric mixer until completely smooth. This step is important to avoid lumps in your cheesecake. Be patient and beat for about 2-3 minutes until the texture is creamy.
- Add the sugar and vanilla: Gradually add the sugar and vanilla extract to the cream cheese, beating until the sugar is completely incorporated and the mixture is light and fluffy.
- Add eggs one at a time: Break the eggs into the mixture one at a time, beating well after each addition. It helps to create a smooth and consistent texture. To make sure everything is evenly mixed.
- Blend in the sour cream: Finally, add the sour cream and mix until combined. Sour cream adds an extra layer of creaminess and a slight tang, enhancing the overall flavor of the cheesecake.
Step 3: Bake the cheesecake
Baking cheesecake to perfection requires a gentle touch to avoid cracks and ensure a smooth texture.
- Preheat the oven: Preheat your oven to 325°F (165°C) and place the oven rack in the middle.
- Pour the filling: Remove the prepared crust from the refrigerator and pour the cheesecake filling over the crust. Use a spatula to smooth the top, making sure it’s smooth.
- Bake the cheesecake: Place the springform pan on a baking sheet to catch any drips. Bake the cheesecake for 55-65 minutes, or until the edges are set but the center is slightly runny. The cheesecake will continue to firm up as it cools, so avoid overbaking, which can cause cracks.
- Cool the cheesecake: Once baked, turn off the oven and crack the oven door a little. Let the cheesecake cool in the oven for about 30 minutes. This slow cooling process helps prevent the top from cracking. Then, transfer the cheesecake to a wire rack and let it cool to room temperature before refrigerating.
Step 4: Cherry Topping
The cherry cheesecake crown jewel is of course the cherry topping. Whether you choose a store-bought cherry pie filling or make your own cherry compote, the topping should be vibrant, sweet, and slightly tangy to balance the richness of the cheesecake.
- Option 1: Store-Bought Cherry Pie Filling: If you’re short on time, a high-quality canned cherry pie filling works perfectly. Simply spoon the filling onto the cooled cheesecake, making sure there is an even layer of cherries over the entire surface. Make sure to refrigerate for at least 4 hours or overnight to allow the flavors to meld.
- Option 2: Homemade Cherry Compote: If you prefer a homemade topping, cherry compote is easy to make. In a saucepan, combine 2 cups pitted cherries, ½ cup sugar, 1 tablespoon lemon juice, and 1 tablespoon cornstarch (for thickening). Cook over medium heat until the cherries break down and the mixture thickens to a jam-like consistency. Allow to cool completely before spreading over the cheesecake.
- Garnish: For a decorative touch, you can garnish the cheesecake with fresh cherries chocolate drizzle, or whipped cream.
Step 5: Serving and Storing the Cheesecake
Your cherry cheesecake is now ready to enjoy! Before serving, carefully run a knife around the edges of the spring form pan to loosen the cheesecake, then release it from the sides of the pan.
- Slicing: To get clean, smooth slices, dip a sharp knife in hot water and pat dry before cutting each slice. This prevents the cheesecake from sticking to the knife and ensures a picture-perfect slice.
- Storage: Store any leftover cheesecake, covered, in the refrigerator for up to 4 days. For longer storage, you can freeze individual slices by wrapping them tightly in plastic wrap and placing them in an airtight container. When you’re ready to enjoy, simply thaw a slice in the refrigerator overnight.
Additional Tips for the Perfect Cherry Cheesecake
A few additional tips can elevate your cherry cheesecake from good to perfect:
- Room temperature ingredients: Make sure all of your ingredients, especially the cream cheese, eggs, and sour cream, are at room temperature. This helps the ingredients mix easily and prevents lumps in the filling.
- Avoid overmixing: Although it is important to beat the cream cheese well, avoid overmixing the filling after adding the eggs. Over-mixing introduces too much air into the batter, which can cause the cheesecake to rise and break during baking.
- Water Bath Method: For an extra smooth and crack-free cheesecake, consider baking your cheesecake in a water bath. Simply wrap the bottom of the springform pan in aluminum foil and place it in a large roasting pan. Fill a roasting pan with about an inch of hot water before placing it in the oven. The steam from the water bath helps the cheesecake bake evenly and gently.
Conclusion: A Slice of Perfection
Cherry cheesecake is the perfect dessert for those who love a balance of sweet and tangy flavors wrapped in a rich, creamy package. The combination of a buttery graham cracker crust, smooth cheesecake filling, and a vibrant cherry topping make this dessert a showstopper for any occasion. Whether you’re hosting a holiday party, celebrating a birthday, or just treating yourself to something special, Cherry Cheesecake delivers every time. With the tips and steps in this guide, you’ll be able to make a flawless cherry cheesecake that’s as beautiful as it is delicious.
So, what are you waiting for? Grab your ingredients, preheat the oven, and get ready to bake the perfect cherry cheesecake a dessert that’s truly a sweet and delicious treat!

